


We have upgraded more of the wiring on the Vanagon. Our first wiring upgrade project was to place a 4 gauge wire from the alternator to the starter. This upgrade did a lot to relieve the bottleneck of power for charging of the batteries. The next project was to upgrade the wiring for the multiple accessories we installed. Click through to see how we did it.
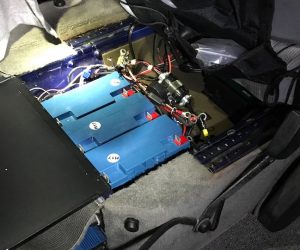
After installing several accessory plugs, back up camera, iPad, phone charger, router, hard drive, etc., we realized we were stressing the system. When we tested some of the accessories for voltage, we realized we were not getting consistent readings. Some of the old wire was burnt on the inside, and there was so many wires behind the glovebox that the box didn’t close easily. We knew we had to make a change.
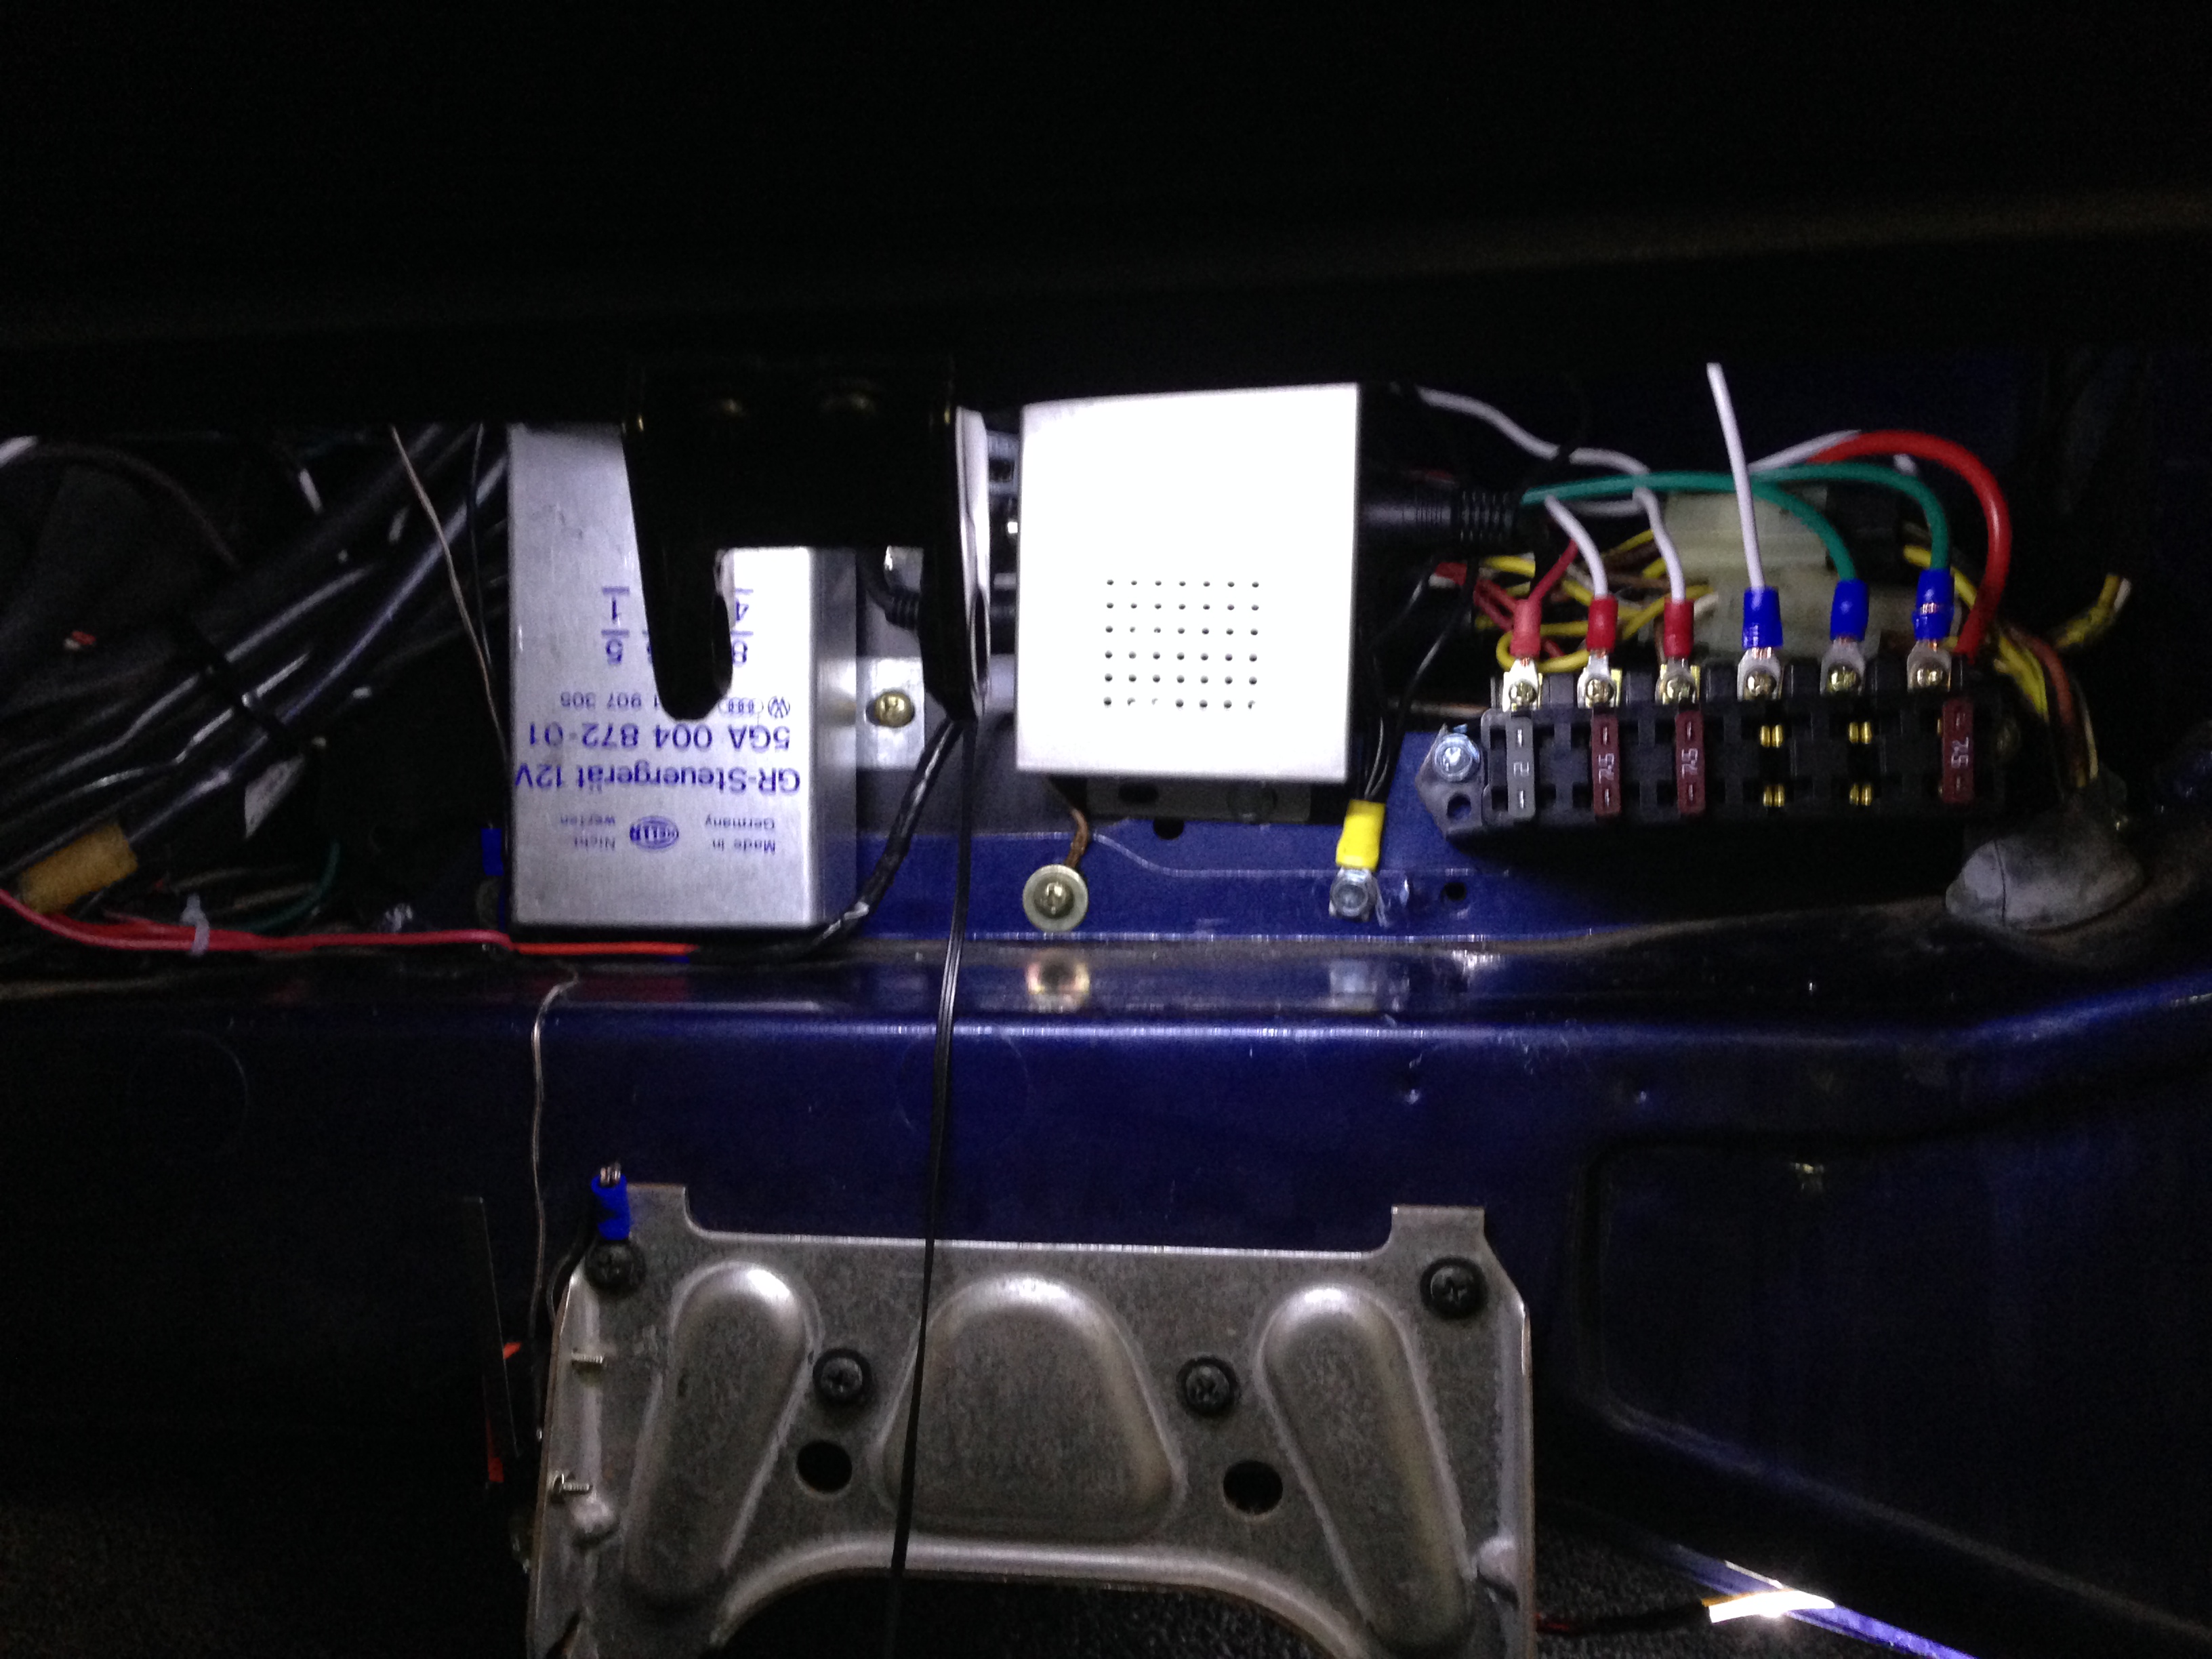
We ran a 10 gauge wire from the fuse box to the right side of the van behind the glovebox. We installed a small 6 fuse block (we used this one), and tapped all of the accessories from there. We used 16 and 12 gauge wire for the various accessories. We now have consistent power and all of our wire is hidden so the glovebox closes easily.
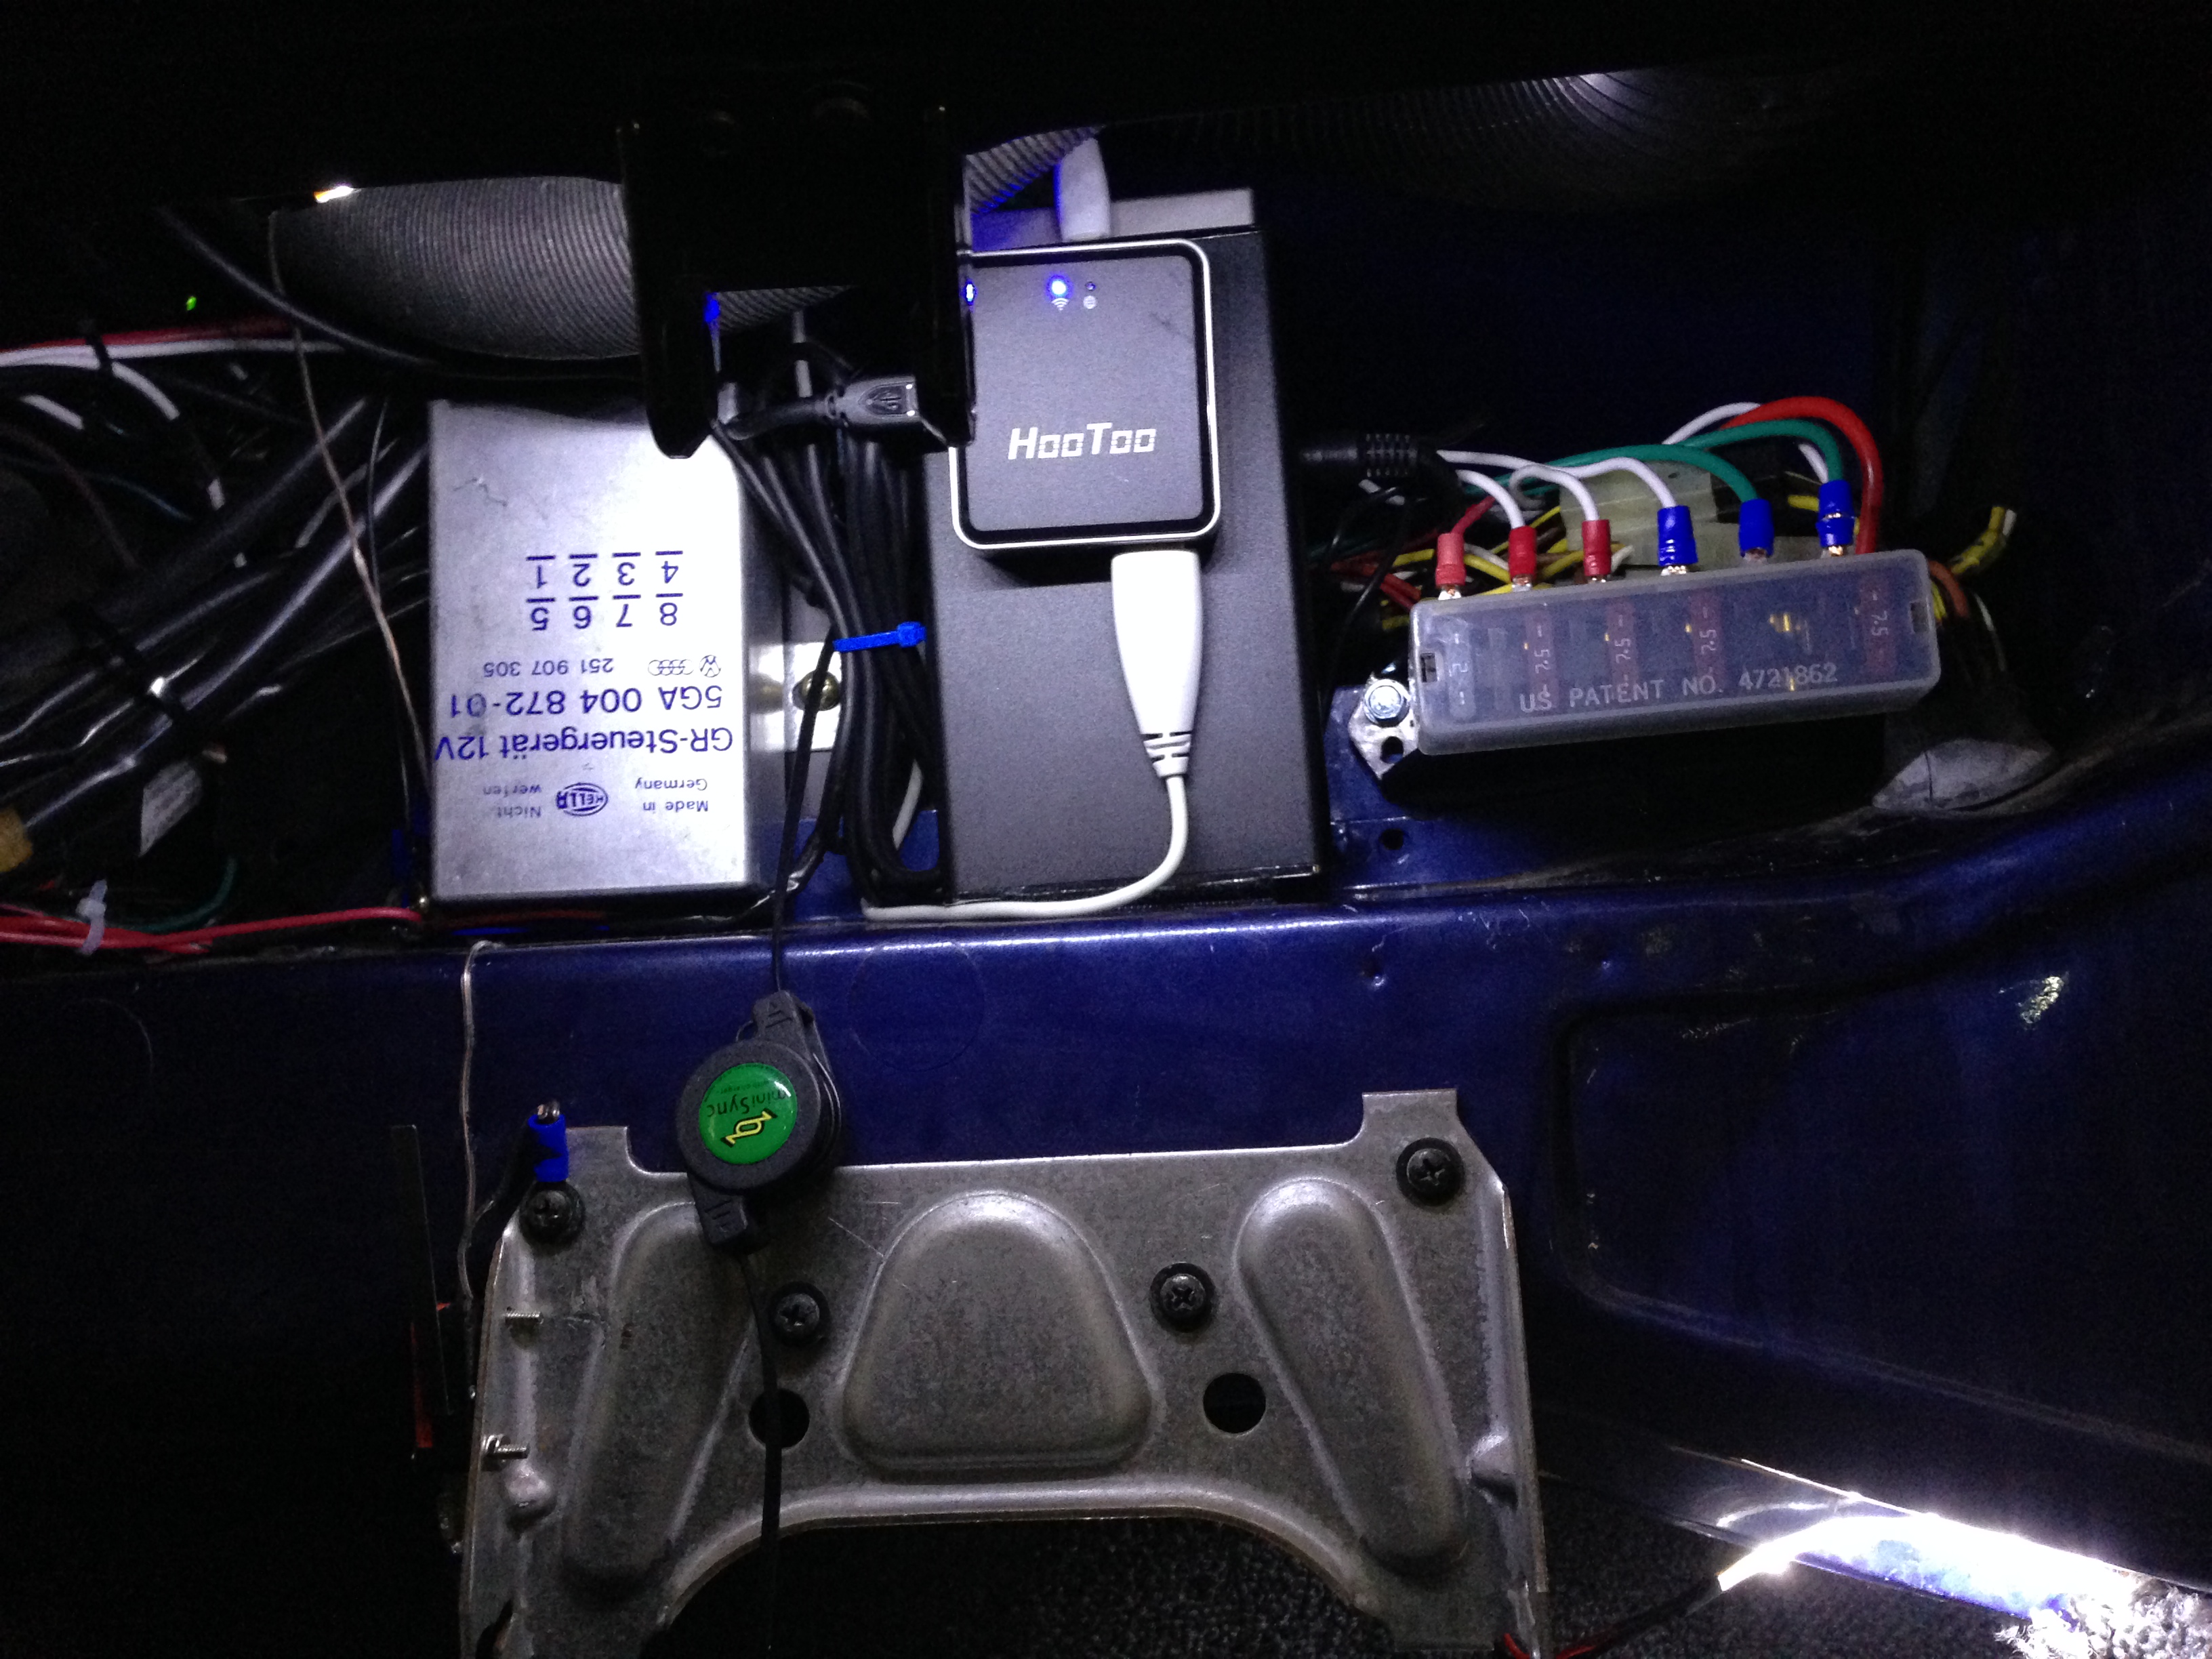
We decided to mount the media hard drive with router on the back of the camera control box. It all fits perfectly!


